Description
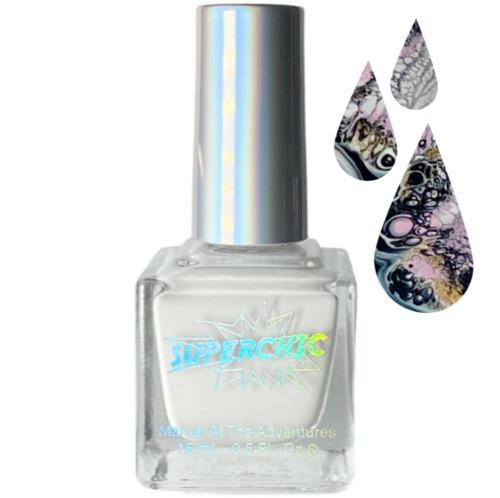
White Eyelet - White Fluid Art Nail Polish / 15 mL Bottle
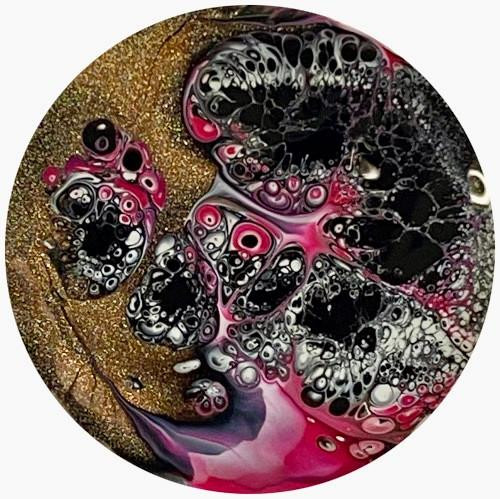
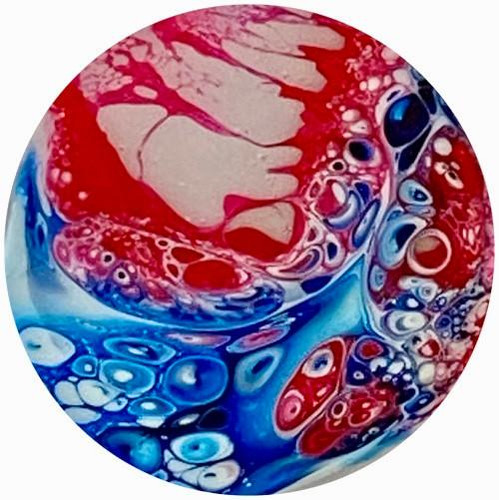
White Eyelet is a pure white fluid art nail polish. It's a core color every DIY decal creator will want for producing light outlines and contrasting cells. This product is not intended to be swatched directly onto the nails - For DIY decal creation use only. Buy Now
Product: Fluid Art Nail Polish
Main Color: White
Special Effect: Cell Forming
Finish: Smooth
Glitter: No
Quantity: 1
Volume: 15 mL
Packaging: Glass Bottle + Applicator Brush
Composition: Liquid
Application Use: For Making Nail Art Decals
Formulation: Standard - Air Dry
Vegan: Yes
Cruelty Free: Yes
*Non-Toxic Chemical Rating: 10 FREE Formula
* This product does not contain any of the following toxic chemicals per the manufacturer’s specifications:
Toluene, Formaldehyde, Formaldehyde Resin, DBP - Dibutyl Phthalate, Camphor, Xylene, Ethyl Tosylamide, Paraben, Fragrance or Animal Products.
Fluid Art Nail Polish Instructions For Use
( 1 ) SuperChic® Fluid Art Nail Polish ( Color of Choice )
( 2 ) Or more standard air dry nail polishes ( Colors of Choice - NOT GEL ) ( 1 ) Silicone Mat
( 1 ) SuperChic® Vinyl Coat - Decal Plumping Top Coat
1. Place a clean silicone mat on a flat surface. Be sure to protect your table or work space from potential spills.
2. Select your nail color palette for making your DIY decals. Line each up beginning with the fluid art polish of your choice + all other colors. Make sure all polishes are of good consistency, not thickened or dried out. Shake each bottle well and loosen the caps for quick and easy application.
3. Begin by dropping 3 - 4 drops of SuperChic® Fluid Art Polish on the center of the silicone mat. The specially formulated fluid art polish will make a slight puffy bubble.
4. Carefully begin dripping drops of the standard nail polish colors into the center of the fluid art polish bubble while alternating colors of your preference. Continue to drip each drop into each previous drop. Watch the bubble grow and grow!
5. After adding about 5 - 10 drops of varying colors, it’s time to “squish” in order to see those incredible cells! Lift 1 side of the silicone mat and squish it onto the color bubble. Be mindful not to squish too hard as it will thin the paint and decal too much. But, squish enough so the cells can spread and pop up to the surface.
6. Be patient - don’t keep squishing. Let your decal set. Often more cells with continue to form if you allow a bit more time.
7. Let your decal(s) fully dry before applying top coat to avoid smudging. This can take 15 - 30 minutes depending on how thick the paint is.
8. Apply SuperChic® Vinyl Coat Decal Plumping Top Coat. Let dry 5 - 10 minutes.
9. Carefully peel away the entire design from the silicone mat and cut to fit each nail. Or die cut your decal(s) by first making impressions like a cookie cutter before peeling them from the silicone mat.
10. Gently lay and wrap the decal(s) over each nail. Press the edges down with a cuticle pusher for a custom fit. Use acetone for clean up around the edges.
Recommendation: Keep SuperChic® Fluid Art Nail Polish fresh for your next nail art project.
Wipe to clean the edge of the bottle neck after each use. Keep sealed to prevent exposure to air and drying out. If your bottle does become thickened over time, add a few drops of nail polish thinner to restore. DO NOT ADD ACETONE OR ALCOHOL.
Photos credits: SuperChic
---------------------------------------------------------------------------------------------------------------------------------------------------------------------------
Check out our entire stock of stunning Fluid Art Nail Polishes!
Additional Details
- SKU:
- SCLFAWEW2


